Custom Fields to POS
📝 Adding Custom Fields to POS Second Screen
You can enhance the POS Second Screen by adding custom fields as per your business needs.
🔷 Steps to Add a New Field:
Customize POS Invoice
- Navigate to Customize Form in ERPNext.
- Select POS Invoice as the form to customize.
- Add the desired custom field(s) and save.

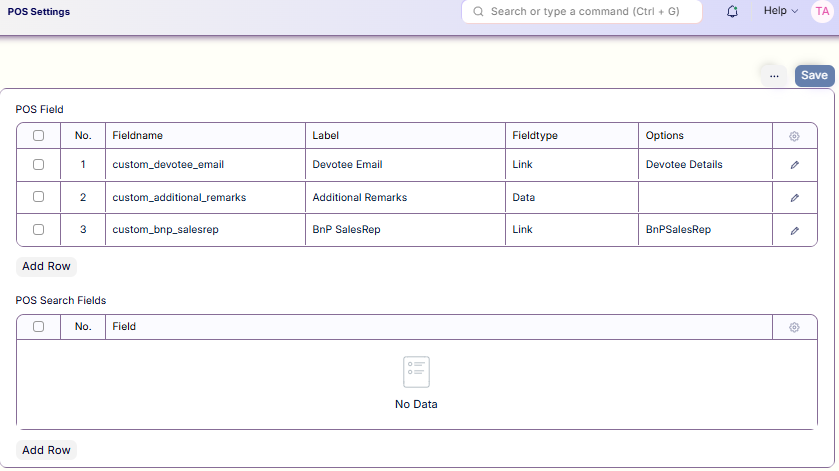
Update POS Settings
- Go to POS Settings.
- Map the newly created custom field(s) in the appropriate section so they appear on the POS Second Screen.
By following these steps, the additional fields will be visible on the second screen during the checkout process.